When it comes to home maintenance, one area that is often overlooked is the attic. Yet, the insulation in your attic plays a crucial role in keeping your home comfortable and energy-efficient. In this comprehensive guide, we will walk you through the process of changing insulation in your attic.
If you’re looking to improve energy efficiency, reduce heating and cooling costs, or simply want to make your home more comfortable, this step-by-step guide will provide you with all the information you need.
Why Change Attic Insulation?
Before we delve into the process of changing attic insulation, it’s essential to understand why this home improvement project is so important. There are several compelling reasons to consider changing your attic insulation:
- Energy Efficiency: Outdated or insufficient insulation can lead to energy loss, causing your heating and cooling systems to work harder and increasing energy bills.
- Comfort: Proper insulation helps maintain a consistent temperature in your home, ensuring that you and your family are comfortable year-round.
- Environmental Impact: A well-insulated attic can reduce your carbon footprint by decreasing energy consumption.
- Health and Air Quality: Insulation can also impact indoor air quality. Proper insulation prevents moisture buildup, reducing the risk of mold and mildew growth.
Now that you understand why changing attic insulation is essential, let’s move on to the steps you need to follow to get the job done.
Step 1: Assess Your Current Insulation
Before making any changes to your attic insulation, it’s crucial to assess the existing insulation. Start by identifying the type of insulation you currently have in your attic. Common types include fiberglass, cellulose, and foam board insulation. Each type has its pros and cons, so knowing what you have is essential for making informed decisions.
Step 2: Calculate the Required Insulation
The next step is to determine how much insulation your attic needs. This calculation depends on several factors, including the climate in your area and the R-value, which measures the insulation’s effectiveness. It’s advisable to consult an insulation professional to ensure you get this calculation right.
Step 3: Gather the Necessary Materials
To change your attic insulation, you’ll need the following materials:

- New insulation material
- Safety gear (gloves, mask, goggles)
- Utility knife
- Measuring tape
- Staple gun
- Insulation supports
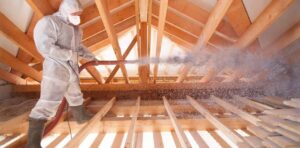
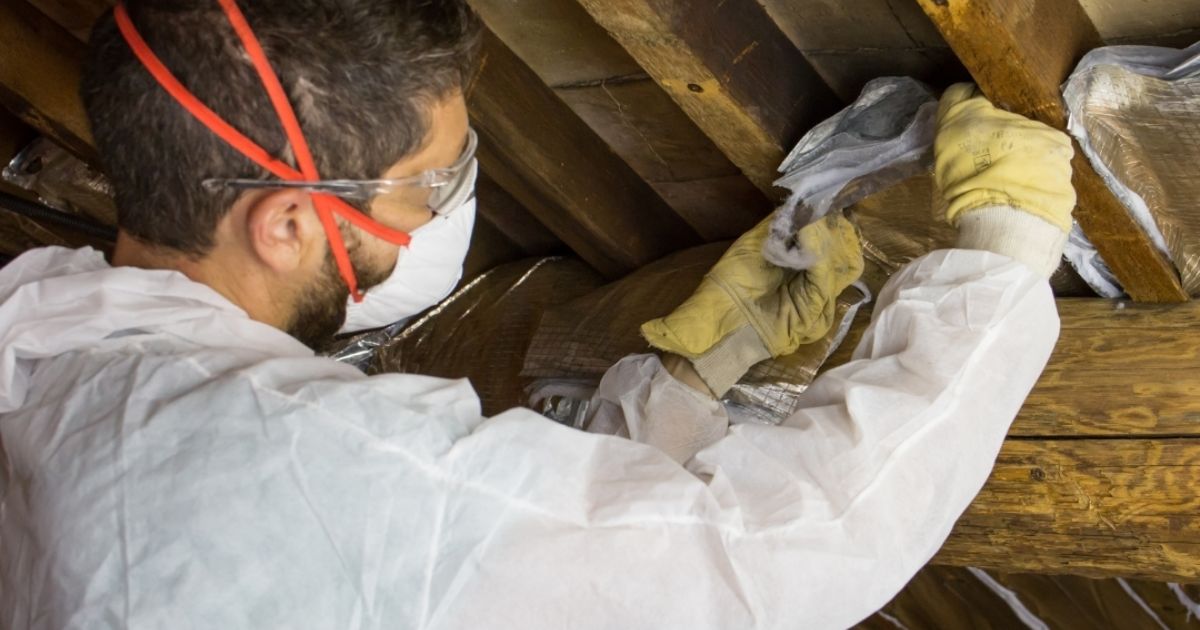
Step 4: Safety First
Before you start working in your attic, make sure to take safety precautions seriously. Wear appropriate safety gear, including gloves, a mask, and goggles, to protect yourself from insulation fibers and dust. Additionally, ensure proper ventilation in the attic by using fans or opening windows.
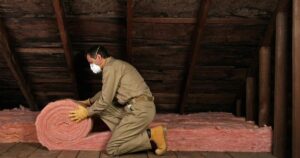
Step 5: Remove Old Insulation
If you’re replacing existing insulation, carefully remove the old material. Use a utility knife and insulation supports to cut and hold the insulation in place as you remove it. Dispose of the old insulation properly, following local regulations.

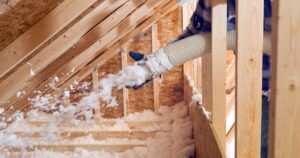
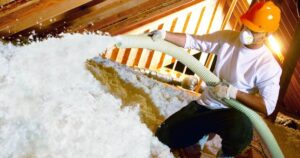
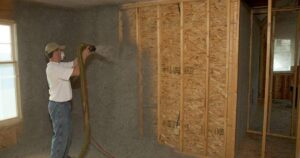
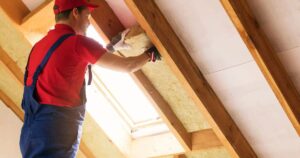
Step 6: Install New Insulation
Once the old insulation is removed, it’s time to install the new insulation. Start from the farthest corner of the attic and work your way towards the attic entrance. Use the staple gun to secure the insulation in place, making sure there are no gaps or spaces left uncovered.
Step 7: Maintain Proper Ventilation
It’s crucial to maintain proper attic ventilation even after changing the insulation. Adequate ventilation helps regulate temperature and humidity levels in the attic, preventing moisture-related issues.
Step 8: Check for Air Leaks
While you’re in the attic, take the opportunity to check for any air leaks. Sealing gaps and cracks will further improve energy efficiency and comfort in your home.

Step 9: Clean Up
After successfully changing the insulation and addressing any air leaks, it’s time to clean up. Dispose of any waste material properly and ensure your attic is left in a clean and organized state.
Step 10: Monitor and Maintain
Regularly monitor the condition of your attic insulation and make necessary adjustments over time. Insulation can settle or degrade, so periodic checks are essential to ensure it continues to perform optimally.
Conclusion
Changing the insulation in your attic is a home improvement project that can have a significant impact on your energy efficiency, comfort, and environmental footprint. By following the steps outlined in this guide, you can ensure that your attic insulation is up to the task, keeping your home comfortable and your energy bills in check.
Remember to prioritize safety, and when in doubt, consult with a professional to ensure the best results. With the right insulation, your attic will become a valuable asset in maintaining a comfortable and energy-efficient home.