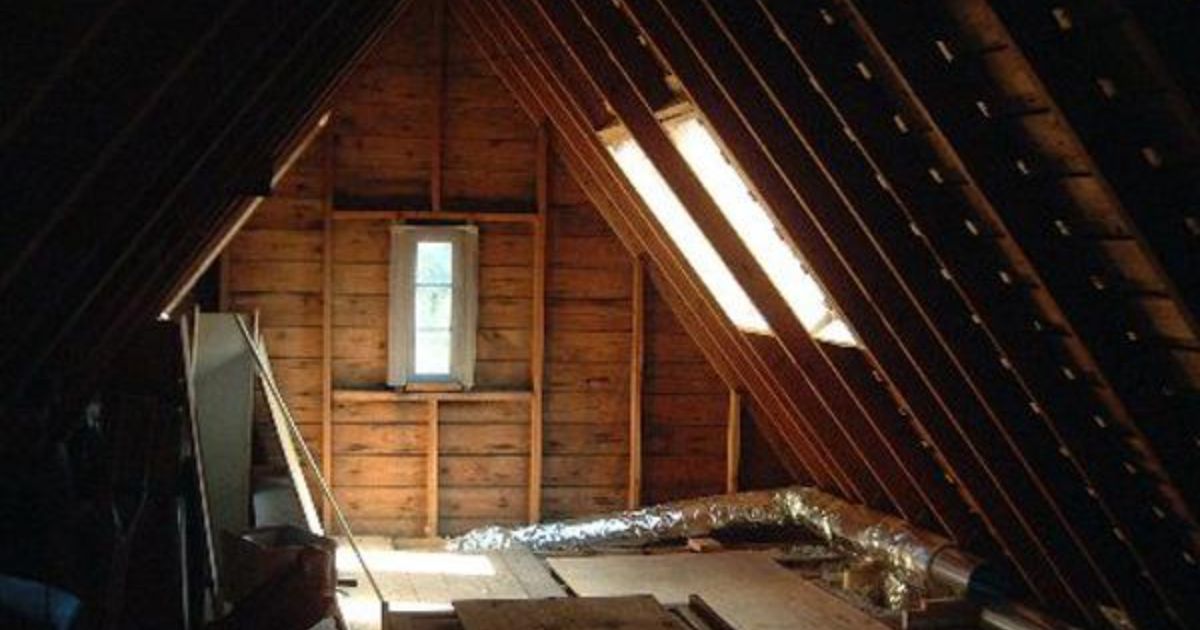
When it comes to home energy efficiency, one often overlooked aspect is the insulation of can lights, also known as recessed lights. These fixtures, commonly used for ambient lighting and design aesthetics, can be a significant source of heat loss and drafts if not properly insulated. Many homeowners are left wondering how to insulate can lights, especially when attic access is not an option.
In this comprehensive guide, we will explore different methods and strategies to insulate can lights without the need for attic access, helping you improve your home’s comfort and energy efficiency.
Understanding the Importance of Insulating Can Lights
Before delving into the methods of insulating can light, it’s crucial to understand why it matters. Can lights are typically installed in the ceiling, and the gap around them can act as a direct pathway for conditioned air to escape into your attic, resulting in energy waste and an uncomfortable living environment. Proper insulation can help in several ways:
Energy Efficiency: Insulating can lights can significantly reduce heat loss during the winter and prevent warm air from entering your attic during the summer, ultimately reducing your energy bills.
Comfort: By preventing drafts and temperature fluctuations, insulated can lights contribute to a more comfortable and consistent indoor environment.
Safety: Insulation can reduce the risk of fire hazards associated with overheating can lights.
Now that we’ve established the importance of insulating can lights, let’s explore the various methods you can use, even if attic access is unavailable.
Method 1: Using Insulation Covers
Insulation covers are a popular and relatively simple solution for insulating can lights. These covers are designed to fit over the fixture, creating a thermal barrier between the living space and the attic. Here’s how to use them:
Choose the Right Insulation Cove
Ensure that you select an insulation cover that is compatible with your can lights and the type of insulation in your ceiling.
Turn Off the Lights
Before installing the cover, turn off the lights and allow the fixtures to cool down to avoid any safety concerns.
Place the Cover
Carefully place the insulation cover over the can light fixture, making sure it fits snugly.
Secure the Cover
Some covers come with built-in clips or fasteners for secure attachment. Make sure the cover is securely in place.
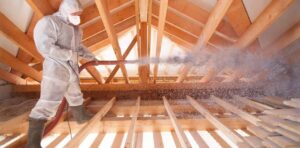
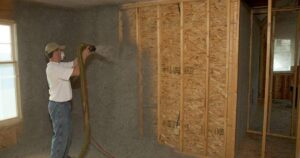
Method 2: Spray Foam Insulation
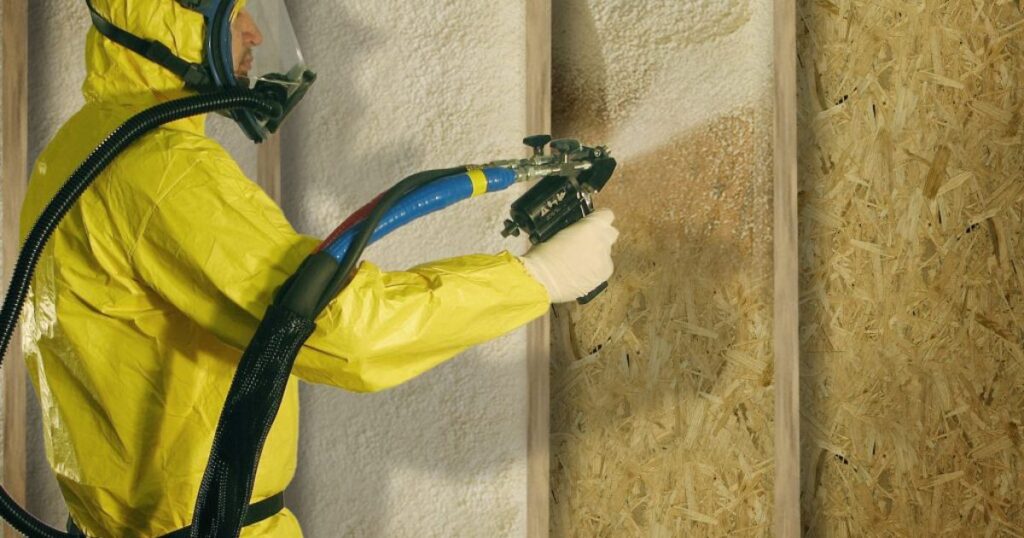
Another effective method for insulating can lights is using spray foam insulation. This method provides an airtight seal around the fixture, preventing air leakage. Here’s how to go about it:
Turn Off Power
As a safety precaution, turn off the power to the lights you’ll be insulating at the circuit breaker.
Remove Trim:
Carefully remove the trim or decorative elements around the can light, exposing the fixture.
Apply Spray Foam
Use a low-expanding spray foam insulation designed for electrical fixtures. Apply the foam around the can light, ensuring you create an airtight seal.
Replace Trim
Once the foam has cured, reattach the trim or decorative elements.
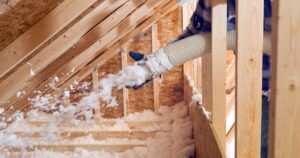
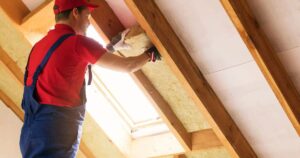
Method 3: Insulation from Below
When attic access is not possible, insulating from below the ceiling is an alternative method. It may involve cutting small access holes in the ceiling to reach the can lights. Here’s how it’s done:
Locate the Fixtures:
Identify the locations of the can lights and mark their positions on the ceiling.
Cut Access Holes:
Using a drywall saw, carefully cut small access holes around the marked areas.
Install Insulation:
Reach through the access holes and install insulation around the fixtures. Ensure it’s snug and covers any gaps.
Patch and Paint:
After insulating, patch the access holes and repaint the ceiling to make it look seamless.
Certainly, let’s continue with some additional information and tips to ensure that you effectively insulate your can lights without attic access.
Method 4: Recessed LED Retrofit Kits
If you’re looking to upgrade your can lights to more energy-efficient LED fixtures while insulating, consider using recessed LED retrofit kits. These kits not only provide improved energy efficiency but also make insulation easier. Here’s how it works:
Choose Retrofit Kits
Select LED retrofit kits that are designed to fit your existing can light fixtures. These kits are specifically engineered to be insulation contact (IC) rated, meaning they can be in direct contact with insulation.
Turn Off Power:
As with other methods, turn off the power to the lights at the circuit breaker.
Remove Trim:
Carefully remove the trim around the can light to access the existing fixture.
Install the Retrofit Kit:
Follow the manufacturer’s instructions to install the retrofit kit into your can light. These kits often come with built-in gaskets and insulation barriers, ensuring that they are properly sealed and insulated.
Replace Trim:
Once the retrofit kit is installed, replace the trim or decorative elements to complete the installation.
Method 5: Hire a Professional
If you are uncomfortable with DIY methods or have multiple can lights to insulate, it may be wise to hire a professional electrician or insulation expert. These experts have the necessary tools and expertise to safely and effectively insulate can lights without attic access.
When choosing a professional, be sure to check their qualifications, references, and any relevant certifications. They will be able to evaluate your specific situation and recommend the best approach for insulating your can lights.
Maintenance and Additional Tips
- After insulating your can lights, it’s essential to maintain them properly. Here are some tips to keep in mind:
- Regularly check for any signs of damage or wear in the insulation covers, spray foam, or retrofit kits. Replace them if they show any signs of deterioration.
- If you notice any performance issues with your can lights, such as overheating or flickering, contact a professional to inspect and address the problem.
- When making other home improvements or renovations, keep insulation in mind. Ensure that new fixtures or modifications are compatible with your insulated can lights.
- Consider using LED bulbs in your can lights, as they generate less heat and are more energy-efficient, reducing the load on your insulation.
- FAQs
- What can I do if I have no attic access?
- You can cut a 2′ x 2′ hole in a closet lid, or a 16″ x 16″ – depending on how your ceiling joists are spaced.
- Can I stand in my attic?
- Stepping on drywall or plaster that makes up the roof below could at best cause damage and at worst cause a serious fall to the floor below.
FAQs
What can I do if I have no attic access?
You can cut a 2′ x 2′ hole in a closet lid, or a 16″ x 16″ – depending on how your ceiling joists are spaced.
Can I stand in my attic?
Stepping on drywall or plaster that makes up the roof below could at best cause damage and at worst cause a serious fall to the floor below.
Conclusion
Insulating can lights without attic access is a vital step in improving your home’s energy efficiency and comfort. By following the methods mentioned in this article, you can effectively seal and insulate your can lights to prevent energy loss and maintain a comfortable living space.
Whether you choose to do it yourself or hire a professional, the benefits of proper insulation are well worth the effort. Start insulating your can lights today to enjoy a more energy-efficient and cozy home.