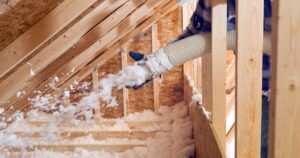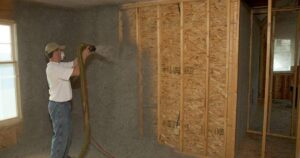
Insulating water pipes in the attic involves adding a layer of insulation around the pipes to protect them from extreme temperatures and potential freezing. This insulation serves as a barrier to keep the pipes at a stable temperature, preventing them from getting too cold during winter.
When it comes to home maintenance, insulating your water pipes in the attic is often overlooked. This simple yet essential task can save you money on energy bills, prevent freezing during winter, and extend the lifespan of your pipes.
The process typically involves measuring the pipes, cutting and fitting insulation sleeves to size, securing the insulation with adhesive or zip ties, and sealing any gaps or joints to ensure effective coverage. Regular inspection and maintenance are also essential to ensure the continued efficiency of the insulation. In this comprehensive guide, we will walk you through the process of insulating water pipes in your attic, step by step.
Why Should You Insulate Your Water Pipes in the Attic?
Before we dive into the “how,” it’s crucial to understand the “why.” Insulating your water pipes in the attic offers several benefits:
Prevent Freezing and Bursting
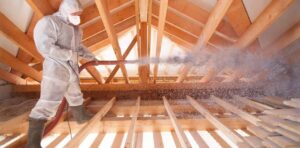
During colder months, your attic can become extremely cold, putting your water pipes at risk of freezing and bursting. Proper insulation acts as a protective barrier, keeping the temperature stable and avoiding costly repairs.
Energy Efficiency
Insulating your water pipes can also improve energy efficiency. When your pipes are well-insulated, your hot water will stay warmer for longer periods, reducing the need to reheat water, which, in turn, lowers your energy bills.
Prolonged Pipe Lifespan
Insulation not only protects against freezing but also prevents condensation on your pipes. Excess moisture can lead to corrosion and eventually reduce the lifespan of your plumbing system.
Now that you understand the importance of insulating your water pipes in the attic, let’s get into the details of how to do it effectively.
Tools and Materials You’ll Need
To get started, you’ll need the following tools and materials:
Tools:
- Measuring tape
- Pipe insulation
- Utility knife
- Adhesive or zip ties
- Safety goggles and gloves
- Screwdriver or power drill
- Caulk gun (if sealing gaps)
Materials:
- Foam pipe insulation sleeves
- Pipe wrap tape
- Caulk (for sealing gaps)
- Sealant (for sealing joints)
- Zip ties or adhesive
Step 1: Measure Your Pipes
The first step is to measure the length and diameter of your water pipes. It’s essential to get the right size of insulation material to ensure a snug fit. Measure each pipe individually, as they may have different dimensions.
Step 2: Prepare the Insulation Material
Cut the foam pipe insulation sleeves to match the measurements you took in the previous step. Use a utility knife for this task, and make sure the cut is clean and straight.
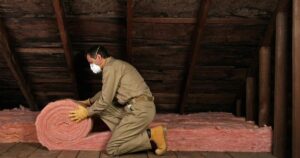
Step 3: Wrap the Pipes
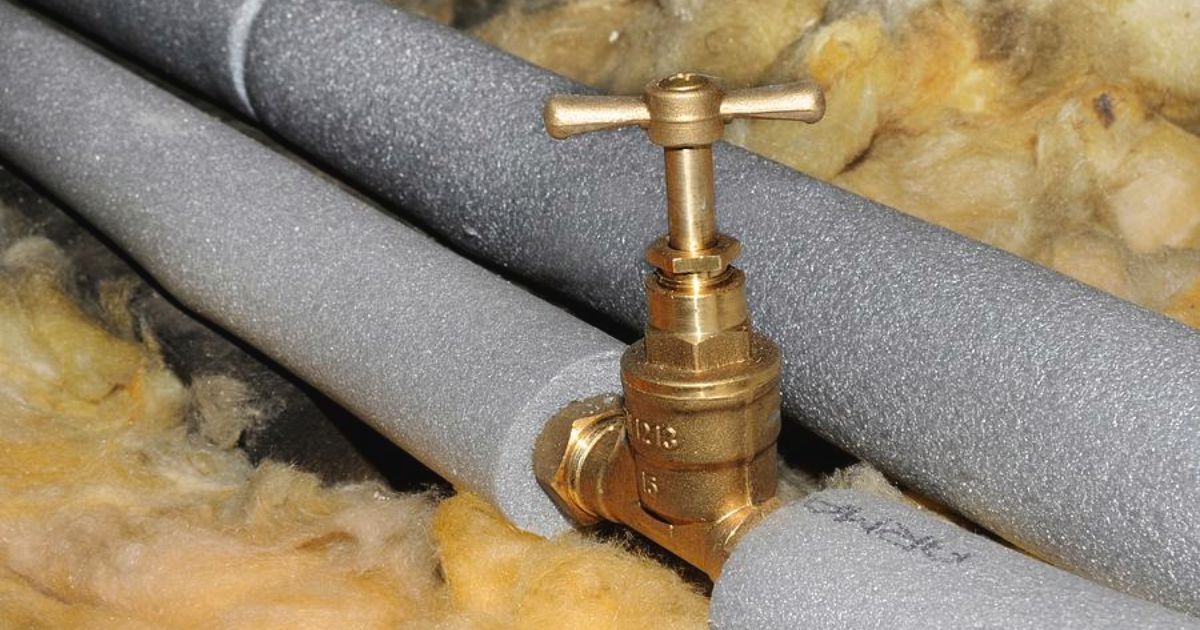
Slide the cut insulation sleeves onto your water pipes. Make sure they fit snugly and cover the entire length of the exposed pipes in the attic. If there are any gaps or joints, seal them with the appropriate sealant and tape.
Step 4: Secure with Adhesive or Zip Ties
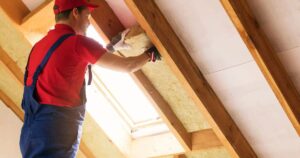
To prevent the insulation from slipping, secure it in place with adhesive or zip ties. This will ensure that it stays in position and provides a continuous Insulation to Pitched Roof.
Step 5: Test for Drafts
After insulating your pipes, it’s a good idea to test for drafts. On a cold day, feel around the pipes to check for any cold spots. If you find any, use caulk to seal gaps or joints that might be letting cold air in.
Step 6: Additional Tips
Regular Inspection: Periodically check your insulated pipes for wear and tear. Replace any damaged insulation to maintain efficiency.
Maintain Adequate Ventilation: Make sure your attic has proper ventilation to prevent moisture buildup, which can lead to mold or mildew.
Professional Help: If you’re unsure about the insulation process or have a complex plumbing system, consider consulting a professional for assistance.
FAQ’s
How do you insulate an attic water line?
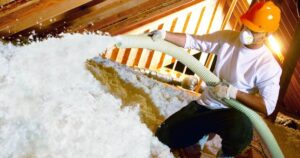
There are available foam pipe insulations that you can wrap around the pipes to keep them warm.
What is the best way to insulate water pipes?
One of the easiest of all the insulation methods is using foam pipe sleeves.
Conclusion
Insulating your water pipes in the attic is a simple yet effective way to protect your plumbing system from the harsh elements, reduce energy costs, and extend the lifespan of your pipes. By following the steps outlined in this guide and ensuring proper maintenance.
You’ll enjoy the benefits of a well-insulated attic, even in the coldest of winters. So, take the initiative to insulate your water pipes today and safeguard your home’s plumbing for years to come.